Photographing
your artwork
- by Always Art Staff

You need high-quality pictures of every artwork you create, as it is critical for building your online sales and portfolio. Taking the time to learn how to take good photographs of your artwork is beneficial so you do not have to pay someone to do it for you.
We will break down the general tips for taking professional shots of your 2D artwork, as well as specified tips depending on whether you are using a phone or a camera. General tips for photographing artworks
Lighting
This is a deal-breaker in photography. To get even lighting and eliminate shadows, place two identical lights on opposite sides of the artwork each at a 45-degree angle in front of the artwork. Using light stands will set you up for success and it is worth every penny, as it will save you time and effort. The other critical piece of equipment is a tripod. It brings advantages like image stabilization—you can set your shutter speed without any fear of ruining the picture because of a camera shake. To avoid glare and reflections, use a polarizer filter on the lens of your camera.
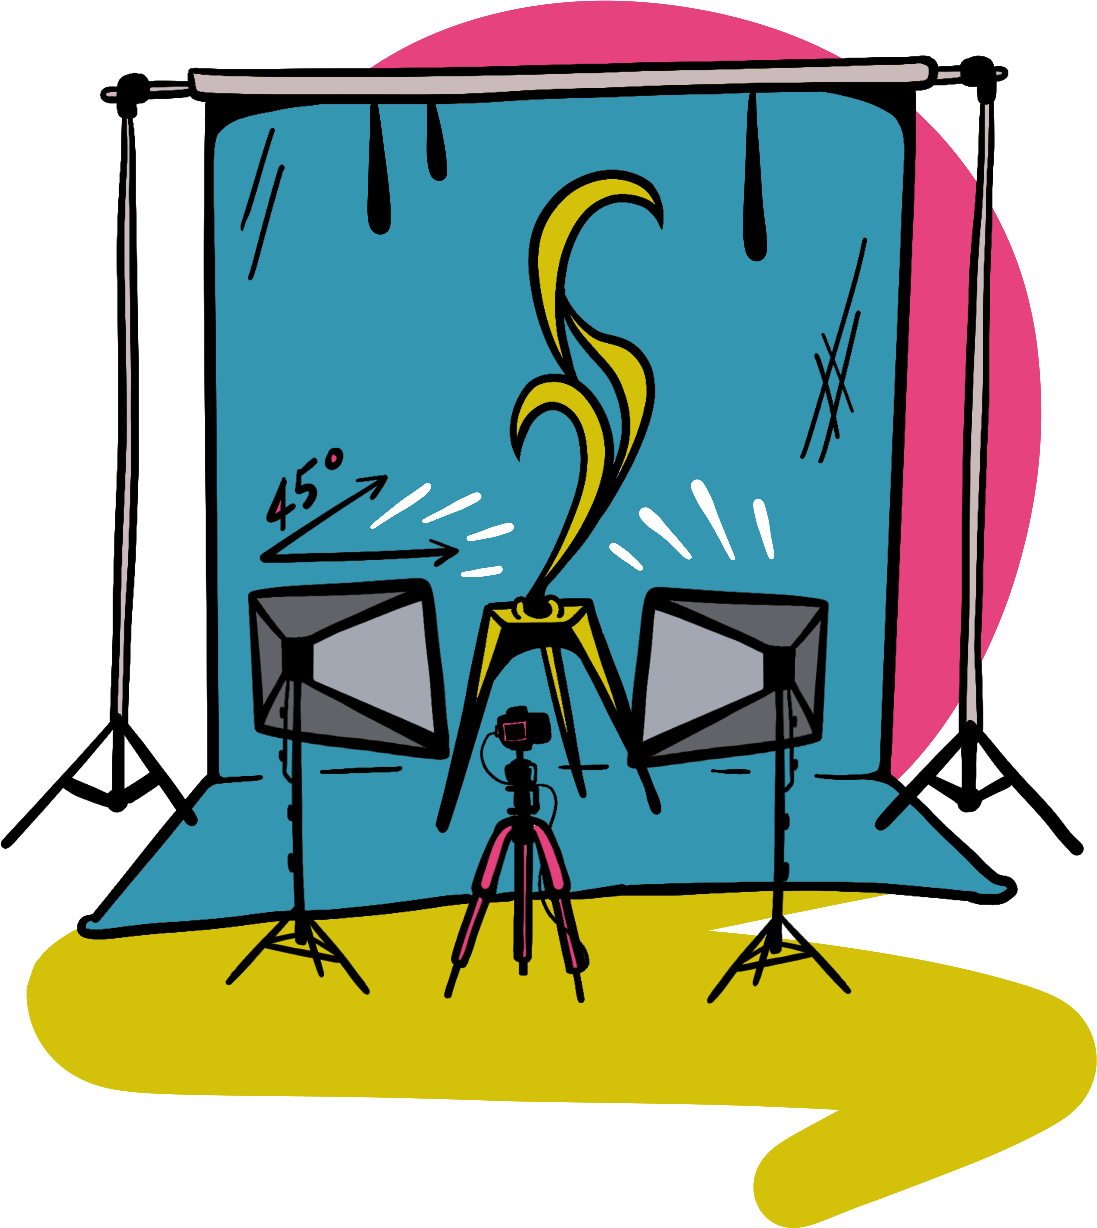
Background
For professional shots of your artwork you should hang your artwork behind a white or a neutral-colored wall. Some artists use vertical easels. While these are optional, if you have one, you should use it. When capturing the image, position your camera lens parallel to the middle of the artwork and then you can crop the remaining background borders later.
Photographing artwork with your phone
Please be advised that this is not the best way to take pictures if you want detailed images or large files. But, if you do not have another choice, you can temporarily opt for this method. Still, it is best to have a good quality camera. Here’s how to have the best outcomes with a phone:
- Step 1: Use a tripod and activate the grid feature in your camera to avoid distortion.
- Step 2: Do not use flash or turn on any lights in the room. You can use natural light, either indoors or outdoors but avoid direct sunlight in both cases. When outside, you can try turning your artwork at a 45-degree angle from the sun. Shooting on an overcast or cloudy day is the best option, as clouds help diffuse light.
- Step 3: When you have your pictures, you might want to add final touches. There are many editing software and mobile applications, choose the one you are comfortable with. Do not go too crazy in this step, only edit to help make the image of the artwork look the way it does in reality.
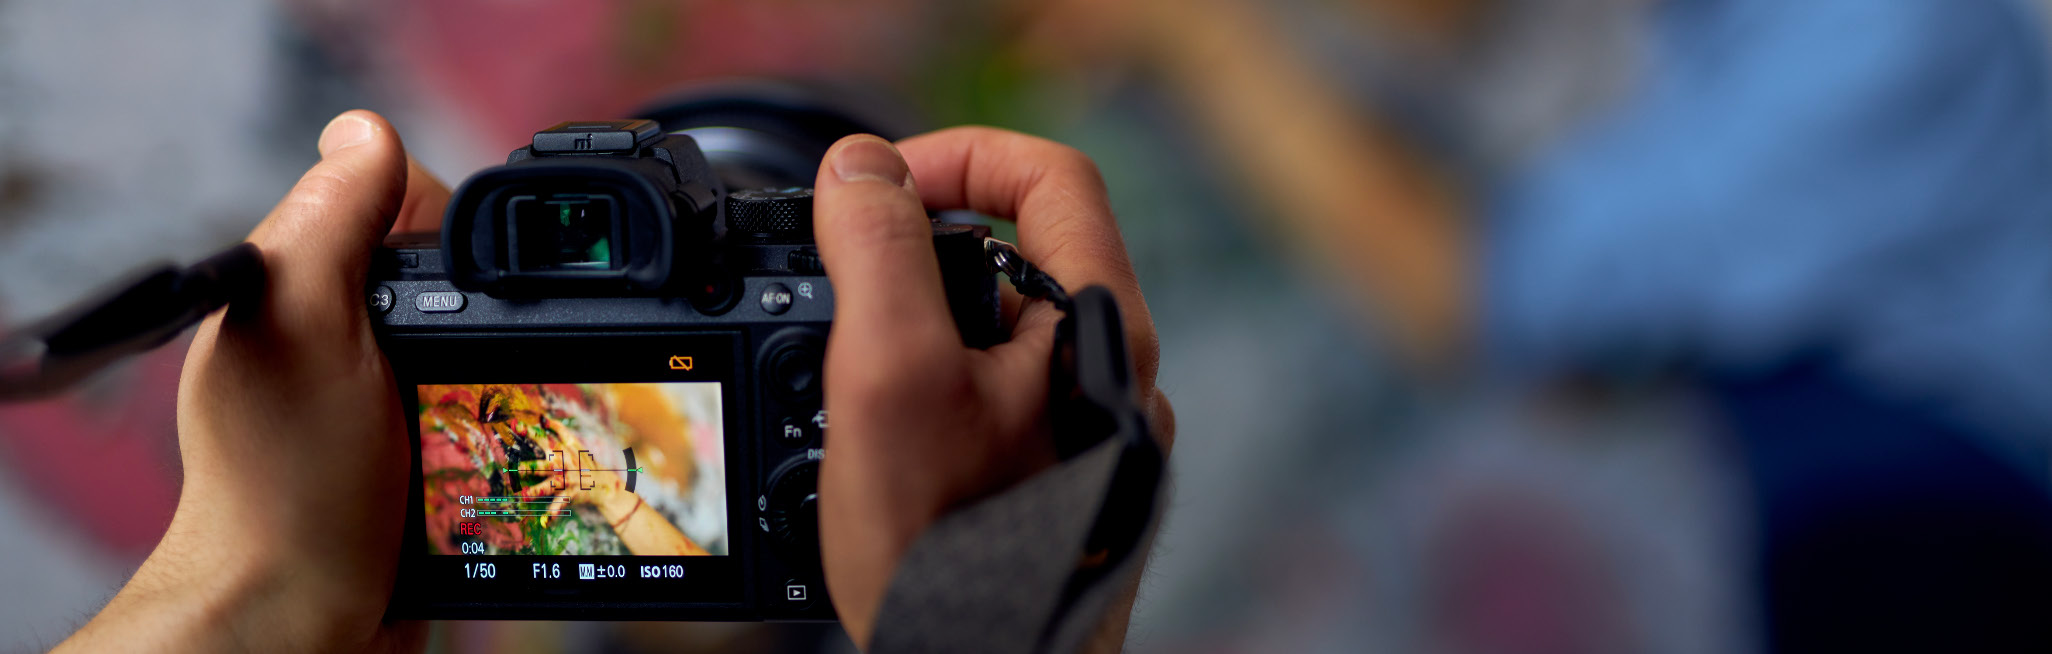
Photographing artwork with a professional camera
It is valuable to use a high-quality digital camera, whether you make an investment purchase or rent the equipment. We recommend a DSLR or a mirrorless camera for these purposes. Buying a second-hand, well-maintained camera can be a good option if you are on a budget.
When photographing artworks, it is advised to use a prime lens instead of a zoom lens to achieve the optimal image quality. A prime lens is at a fixed focal length, whereas a zoom lens has an optical range that you control.
This being said, a 50mm lens should do the job for capturing sharp images. However, you need to have enough physical space that allows you to move farther from the painting to have it fill the camera’s frame.
Another feature to consider is the type of sensor your camera has. In most cases, it is either a full frame, APS-C, or Micro 4/3 (the last two are called cropped sensors). If you have a cropped sensor, your field of view will also be cropped compared to the full frame. For example, an APS-C sensor camera with a 50mm lens is the equivalent of a 75mm lens on a full-frame camera.
For successful shots, you need to set up your camera manually:
- Use the lowest ISO setting, which is usually 100. It is basically the sensitivity of the sensor of your image, the higher it is, the grainer the result.
- The aperture, or f-stop, is responsible for sharp images. The higher the aperture number, the less light enters the lens, and thus the sharper the background becomes (and vice versa). Set yours between f-8 to f-11.
- Use custom white balance and color management to get an accurate representation. To do so, place a gray card in front of the painting, take a picture and use that image to set the custom white balance.
- Set your camera’s timer to four or five seconds.
- Make sure the horizontals and verticals are square to the subject and not distorted.